DIY Scratched Screen Repair: Magic and Myths – What Actually Works (And What’s Total Nonsense)
Your mobile phone display resembles a blender. You look at those ugly scratches day after day. The garage will cost him or her 200 dollars to repair. Now you have a thought to do some wacky DIY projects you saw on the internet. I chose to put to the test all the wild DIY scratched screen repair techniques the internet would purport to work. I put magic erasers to banana peels. Yes, banana peels.
This instruction manual reveals what really works when repairing scratched screens. It also indicates those techniques that are total myths. No sugarcoating here – just bare facts as to what is removing screen scratches and what is not. If you have any issue related to to iphone guide then visit this page.
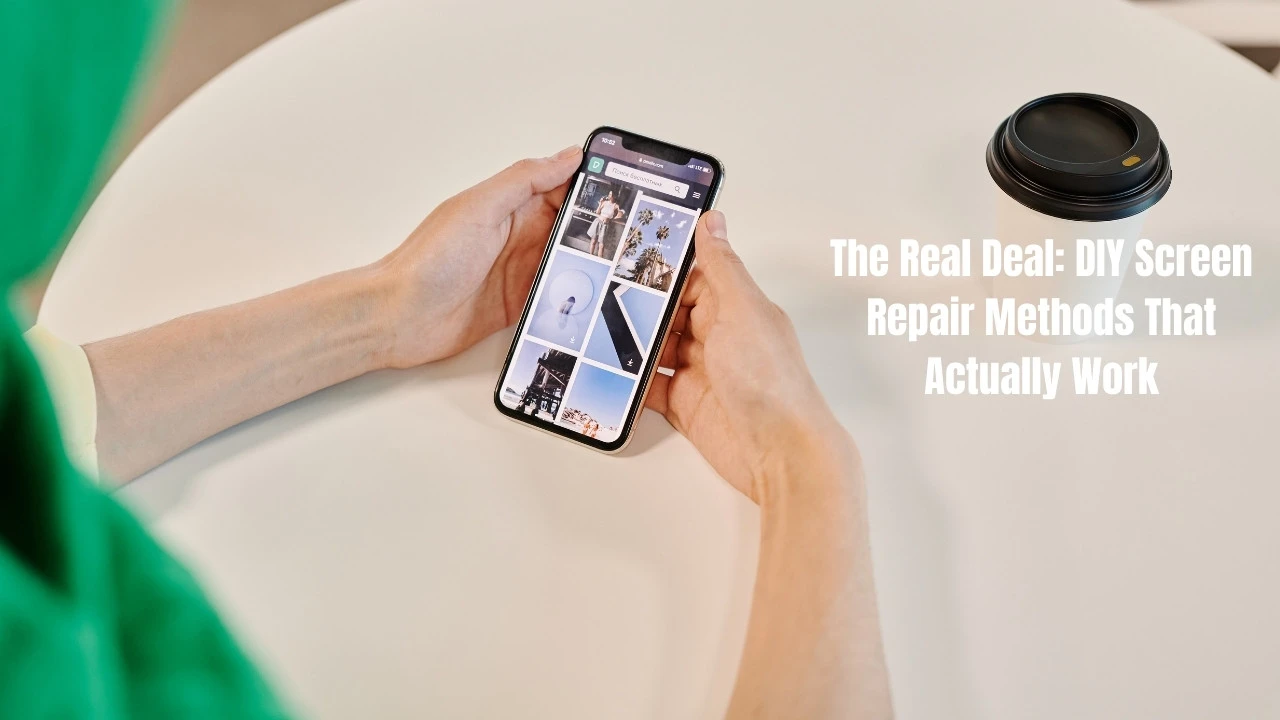
The Real Deal: DIY Screen Repair Methods That Actually Work
Magic Erasers – The Surprising Screen Scratch Solution
Magic erasers are really great with scratches on the screen. This sponge has the ability of removing small scratches in a few seconds. I was taken aback by the results of the testing.
How does it work? The magic eraser is a lot like very fine sandpaper. It softens the top layer on which the scratches are located. The sponge seals small scratches when rubbed on the screen.
Step-by-step method:
- Get a clean magic eraser
- Lightly dampen it with water
- Gently wipe the scratched area
- Use circular motions for 10-15 seconds
- Clean the screen with a soft cloth
Safety tip: Don’t press hard. Allow the magic eraser to do the job. Excessive pressure may cause marks of abrasion.
Break-even cost: Magic erasers would cost you around 10 cents a piece to make your own. Buy melamine foam online. Cut it into small pieces. Far less expensive than the store brands.
Best on: Screens of glass; the scratch is light. Does phone, tablet, and smart watch work.
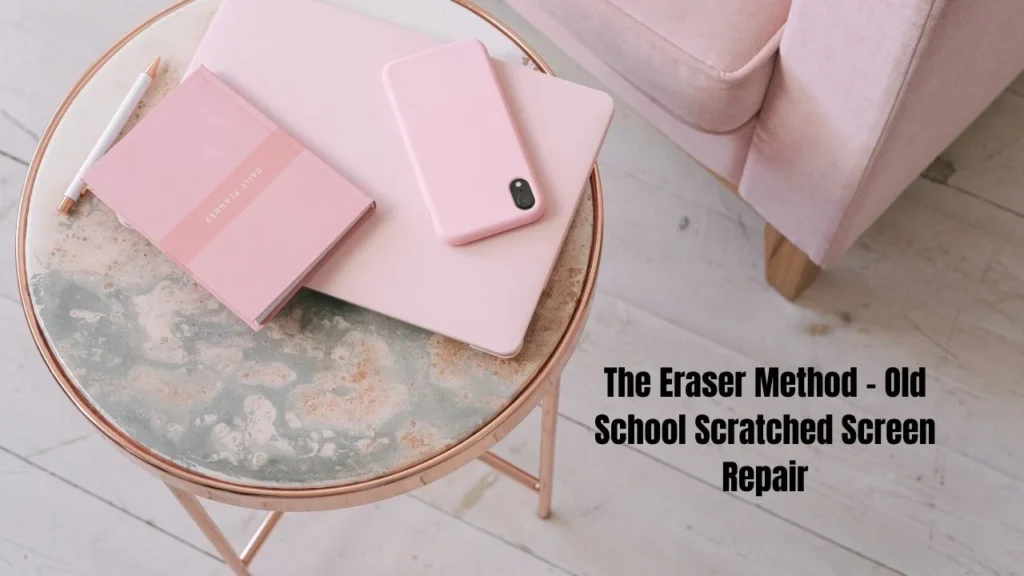
The Eraser Method – Old School Scratched Screen Repair
The ordinary erasers are effective at removing scratches. This traditional technique literally covers up scratches with filler.
Which eraser works best? Pencil erasers are poor compared to white rubber erasers. They are less damaging and less hard.
The correct technique:
- Use a clean white rubber eraser
- Rub the scratch left and right for 60 seconds
- Then rub up and down for 60 seconds
- Don’t press too hard
- Clean the screen when done
Why does this work? The rubbing hardens the eraser material. This material is a soft groove filler. It is like cleaning the screen surface.
Caution: Low pressure only. New scratches can be formed by hard pressure. Test on a corner first.
Best performance: Plastic screen and screen protector jobs. Not so effective on deep glass scratches.
Car Products for Screen Repair – Headlight Lens Cream Success
Headlight lens cream and car wax could be used to remove scratches on the screen. These products would be used to buff clear surfaces with scratches.
Most effective product tried: Mothers PowerPlastic 4Lights headlight cream was effective. It caused scratches to fade away. It also provided a nice shine to the screen.
How to apply:
- Clean the screen first
- Put a tiny amount on a soft cloth
- Rub in circular motions
- Buff with a clean cloth
- Remove all residue
The reason why car products work: They are incorporating mild abrasives and polishing compounds. These fill scratches and level off the surface.
Cost comparison: $15-25 for a bottle. A single bottle has numerous repairs. A lot less expensive than fixing screens by experts.
Ideally Suitable: Medium glass screen scratches. Plastic screens are not recommended.
DIY Screen Repair Myths – Internet Remedies That Failed My Tests
Toothpaste Screen Repair – The Great Disappointment
The most popular DIY scratched screen repair myth over the internet is toothpaste. Millions of people think that this works. The reality is different.
What occurred during testing: Toothpaste (non-gel type) increased the shine of the screens. But it did not take away scratches. Worse still, it left very small marks of abrasion.
The reason people believe it does: The toothpast polishes the screen. This is how it appears presentable in the short term. But the scratches still remain.
One exception: Toothpaste does not work on plastic screen protectors. It is not harmful to soft plastic surfaces. Don’t use it on glass screens.
The science: Toothpaste has low concentration abrasives. These are harsh enough to be on phone screens. On the contrary they can do more harm.
The moral of the story: Don’t use the toothpaste on the screen of your phone. It’s not a real screen fixer. If you have any issue related to iPhone Flashlight then dont worry we also provide solution of this issue here on this website.
Baking Soda Paste – Shiny But Useless for Scratched Screens
Another widely spread myth is baking soda paste. Combine the soda and the water in equal parts. Rub it on the screen. Wipe it off.
Test results: The baking soda paste put the screen very shiny. But scratches it could do nothing to. Complete waste of time.
Risk of moisture: Your device can be damaged by the water in the paste. Ports and speakers can get wet. This may be quite problematic.
Why it appears to work: As does toothpaste, the baking soda smooths the surface. This gives a temporary lustre. This is confused with scratch removal by people.
Safety issue: Baking soda is weakly abrasive. It is able to produce small scratches on soft screens.
Verdict: Another myth that does not work to fix scratched screens.
Kitchen Cabinet Solutions, which are not working.
Coconut Oil Screen Treatment
The internet says that there is nothing that coconut oil cannot fix. In the case of screen scratches it does no good.
What actually occurs: Coconut oil causes your phone to be extremely greasy. It doesn’t fill scratches. It just sits on the surface.
The mess factor: Oil spreads everywhere. It attracts dust and dirt. Your screen gets greasy.
Why people give it a go: Coconut oil has the ability to beautify plastic in the short run. But it is not taking out scratches. It’s just masking them.
Cleaning nightmare: It is difficult to remove coconut oil in your gadget. It gets into cases and ports. 5 Proven Ways to Fix Vertical Lines on Your iPhone Screen (USA Guide)
Corn Starch Screen Polish
The water with corn starch powder forms another useless paste. This technique is suggested on several websites.
Preparation: Corn starch should be mixed with a small amount of water. Rub it on with a soft cloth. Wipe off when done.
Test results: The screen was shiny with the corn starch. It did nothing for scratches. Another time-waster.
The issue: Corn starch is not a polishing substance. It is unable to fill scratches and smooth surfaces.
Washing problems: Corn starch is a film leftover on the screen. This draws prints and dust.
The Downright Dangerous DIY Screen Repair Attempts
Petroleum Jelly – When Screen Repair Goes Wrong
Electronics petroleum jelly is a horrible thought. However, there are websites that suggest it on screen scratches.
Test results: It covered the screen with oil and grease. The scratches were exactly the same. Complete failure.
Why this is harmful: Petroleum jelly is harmful to electronics. It attracts dust and dirt. It can hardly be eradicated.
Application disaster: Petroleum jelly applied on a screen in dots is messy. It gets into ports and buttons. Your machine is useless.
Caution: Do not apply greasy substances on electronics. They are capable of generating irreparable harm.
Powdered Cleansers – Making Scratches Worse
Buffing scratches with powdered cleanser, such as Bar Keepers Friend, Comet, and Ajax, appears to make sense. They are a bit harsh cleaning products.
The theory: Rub the screen with some mild abrasives so that it shines without a scratch. Sand away the scratches.
Realistically, what occurs is that these products cause additional scratches. They are too rough to be seen on delicacies. The damage is usually more severe than the scratches that were on it.
Test disaster: Powdered cleanser left fine scratches on the test screen. The new damage was huge in comparison with the initial damage.
Material damage: These cleaners are capable of removing screen coats. They have the ability to impair touch sensitivity. Permanent harm is possible.
The Banana Peel Method – Food Fights Your Phone
Why would people put food on phones to fix them? The banana skin technique is totally absurd.
The argument: Rub the inside of a banana peel into your screen. The scratches will be removed using the natural oils.
Reality test: Banana peels leave a crusty stain upon your screen. This is a very difficult mess to get rid of. No scratches disappear.
Nightmare clean-up: The banana residues become sticky when dry. It draws all dusts in the room. Your screen is repugnant.
Food safety: It does not make sense to put food on electronics. Corrosion and damage may be caused by organic matter.
Time to quit: Don’t rub fruit on your pricy gadgets.

Smart DIY Screen Repair Safety Tips
Before You Attempt Any Scratched Screen Repair
Never do any DIY scratched screen repair without fully powering down first. This will avoid electrocution and unintentional button press.
Wipe down your working area. Repairs will introduce new dents and dust. Use a clean, well-lit area.
Assess the damage first. Examine the scratches in the light. The scratches on the surface are soft to your fingernail. Your nail gets caught on deep scratches.
Gather proper materials:
- Clean soft cloths or microfiber towels
- Distilled water for cleaning
- Your chosen repair method materials
- Good lighting for inspection
Test in a corner first. Test any technique on a small, concealed area. Look before you treat the entire screen.
Work slowly and gently. The majority of DIY tricks are done by soft repeated movement. More problems occur with aggressive rubbing.
When to Skip DIY and Go Professional
Severe scratches that trap your fingernail should be done by a professional. Repairing the scratched screens by DIY techniques can only be applied to the surface.
Touchscreen issues imply internal destruction. Do NOT attempt home remedies when touch is not working correctly.
Warranty is important. Certain repairs cancel your warranty. Make sure you are covered prior to making fixes.
Cost analysis: Pro screen repair is 100-300. DIY methods cost $1-25. However, amateur tips and tricks may end up adding professional repair expenses.
Several deep scratches on the screen will most likely require a complete replacement. Home repair scratch removal will not repair large scratches.
Broken screens should be repaired by a professional. Cracks may be propagated with DIY techniques.
The Science Behind Scratched Screen Repair Methods
Why Some DIY Methods Work and Others Don’t
Tension on the surface is very important in scratch removal. Effective ways stuff the scratch groove. This levels the surface.
Abrasive compounds act by scouring away minute quantities of material surrounding scratches. This smooths the surface. Excess abrasive is new injury.
The particles that fill scratches in polishing compounds are fine. They also make the rough ones smooth. The size of a particle defines efficacy.
The compatibility of materials is very important. Those techniques that are effective on plastic are harmful to glass. Plastic screen protectors are too delicate on glass treatment.
Filling vs. removing: Good DIY tricks fill in scratches or remove damaged material in a gentle fashion. Poor techniques are only good at making surfaces shiny without repair.
When you fill or smooth the scratches, optical properties change. That is why with repairs, scratches are less noticeable.
Understanding Your Screen Type for Better Repair Results
Gorilla Glass is very tough and scratch resistant. It requires soft products such as magic erasers or car products. It can be broken or fragmented using violent tactics.
The plastic screen protectors are sensitive to soft materials such as toothpaste and erasers. They are more ample than glass surfaces.
The LCD displays have special coatings that are easily damaged by cleaning products. Only use what is recommended.
OLED displays are even more fragile. The expensive OLED devices are often safe to repair by professionals.
The factors influencing repair success are age and wear. Screens, which have several scratches, might not respond to any DIY.
Aggressive polishing can be used to remove anti-glare or fingerprint-resistant layers that are applied to screens. This is what transforms the appearance and the feel of the screen.
Cost Analysis: DIY Screen Repair vs. Professional Solutions
Breaking Down DIY Scratched Screen Repair Costs
The cost of magic eraser method is less than one dollar per repair. Most savings come with buying bulk melamine foam. A single piece contains several scratches.
The cost of automotive products ranges between $15-25 but they have a long life span in terms of repair. Mothers PowerPlastic 4Lights has the ability to repair dozens of devices.
The costs involved with eraser method are virtually no cost. White rubber erasers are already in the homes of most people.
The time spent per repair attempt is 5-15 minutes. Add in pre cleaning and post cleaning.
Success rate analysis: Magic erasers are effective on light scratches 80 percent of the time. On medium scratches automotive products operate 60% of the time. The other approaches are not very successful.
Waste of materials: Unsuccessful attempts wastes both time and materials. This should be part of your cost calculations.
The cost of magic eraser method is less than 1 dollar per repair. Get large amounts of melamine foam at the best price. One work deals with a series of scratches.
Automobile products are expensive (15-25) and will be used in numerous repairs. Dozens of devices can be fixed with Mothers PowerPlastic 4Lights.
The cost of eraser method is almost nothing. The white rubber erasers are already present in the household of most people.
The time investment is 5-15 minutes of a repair attempt. Include pre and post cleaning time.
Success rate analysis: Magic erasers are successful on light scratches 80 percent of the time. There would be 60 percent of medium scratches that automotive products can work. Other applications are not very successful.
Waste of materials: Unsuccessful efforts are wastage of time and materials. Add this to your cost calculus.
When Professional Repair Makes Financial Sense
Screen replacement costs vary by device:
- iPhone screens: $150-300
- Samsung Galaxy screens: $100-250
- Budget phone screens: $50-150
Screen repair may be paid through insurance coverage. Consult your policy before trying to do it yourself.
Resale value insurance is important to costly equipment. Professional repair preserves better value than an amateur repair.
It is important that warranty be maintained. There are DIY techniques that might disqualify manufacturer warranties.
Several repair jobs are expensive. Two unsuccessful DIY experiences and the cost of professional repairs are more than the initial cost of going professional.
Age of the device: DIY scratched screen repair will be more reasonable with older devices. Professional care should be given to new expensive phones.
Conclusion
Scratched screen repair can be done by yourself, but only some of the procedures can be effective. Screen scratches are actually lifted away by magic erasers and automotive polishing compounds. The rest of the internet remedies are all myths.
Do not use hazardous techniques such as powdered cleansers, petroleum jelly and food products. This may permanently damage your system.
Begin with the safest means first. Use magic erasers on scratches of light. Cause more damage with automotive products. Professional repair should be reserved when major damage is done.