DIY Scratched Screen Repair: Magic and Myths – What Actually Works and What’s Just Hype
Your phone screen looks like it went through a blender. You want to get it fixed without spending $200 for repair shop.
I tested every viral hack I could find. Some methods surprised me with great results. Others left my test screens worse than before. This guide will show you what really works and what does not.
You will learn how you can actually remove scratches. I will also inform you of the actions that could further degrade your device. If you have any issue related to to iphone guide then visit this page.
The Magic Methods That Actually Work for DIY Screen Scratch Repair
Magic Eraser – The Surprising MVP of Screen Repair
Magic erasers shocked me with their results. These basic sponges erased small scratches on phone screens in seconds.
The process is easy. Dampen the magic eraser slightly. Gently rub it on the scratch using circular motions. Keep the pressure light. Work for about 60 to 90 seconds.
The reason magic erasers work are due to tiny abrasive particles. These particles are much finer than regular sandpaper. They polish screen surfaces without creating new damage.
The cost is amazing too. Making your own magic erasers will cost you roughly 10 cents each. Compare that to $15 commercial repair products.
Magic erasers are only able to erase surface scratches. You need professionals if the scratch catches a fingernail.
White Rubber Erasers – Old School Solution for New Problems
Using a rubber eraser will take care of scratches. Either white rubber erasers or the type found on pencil erasers can be used.
Here’s the method that worked precisely: rub the scratch back and forth for 1 minute. Then rub up and down for another 60 seconds. The friction softens the eraser material. This fills in the scratch naturally.
Don’t press too hard. Light pressure works better. When you put much pressure on a scratched device screen, it can create new marks.
The science is simple. Heat from friction makes the rubber soft. The soft rubber fills tiny gaps in the screen surface. This makes scratches less visible. If you have any issue related to Prevent Outlook from Sending winmail then dont worry we also provide solution of this issue here on this website.
Automotive Products – When Car Care Meets Phone Care
Car wax and headlight lens cream can work on phone screens. I tested Mothers PowerPlastic 4Lights with good results.
The scratches faded significantly. The cream also gave my screen a nice shine. Car products are made to eliminate scrapes left on clear surfaces.
A soft cloth should be used on application. Apply tiny amounts. Work in circular motions. Clean off all residue when done.
These products cost more than erasers. However, they are effective on slight scratches that erasers cannot reach.
DIY Screen Repair Myths That Need to Die
The Toothpaste Trap – Why This Popular Hack Fails
Using toothpaste to fix a phone scratch is just a myth. Everyone thinks non-gel toothpaste removes scratches.
In my tests, toothpaste made screens shinier. But it also added small scratches. Toothpaste’s abrasive particles are too coarse for phone screens.
Toothpaste is great on plastic screen protectors—here’s the exception. OtterBox-style cases respond well to gentle treatment with toothpaste, which acts as an abrasive.
Toothpaste on phone screens are useless – just skip it Feel free to use it on plastic protectors that will be replaced anyway.
iPhone Camera Lens Replacement Cost Guide: Complete Pricing Breakdown for USA
Kitchen Cabinet “Cures” That Don’t Work
Baking Soda Paste
Everyone talks about the magic baking soda paste. Mix two parts baking soda with one part water. Rub it on scratches. Wait for miracles.
Baking soda only enhances the screens appearance for a time. It doesn’t fill or remove scratches. The paste’s wetness can harm the internal parts of your device.
Baking soda cannot serve as effective a cleaner as magic erasers. They can’t polish screen surfaces effectively.
Corn Starch Concoction
Corn starch paste is another kitchen myth. Mix corn starch with water. Apply with a soft cloth. Wipe clean.
This method did absolutely nothing for scratches. It made the screen slightly shinier for a few minutes. Then everything went back to normal.
Corn starch has zero abrasive properties. It can’t remove or hide scratches. Save your corn starch for cooking.
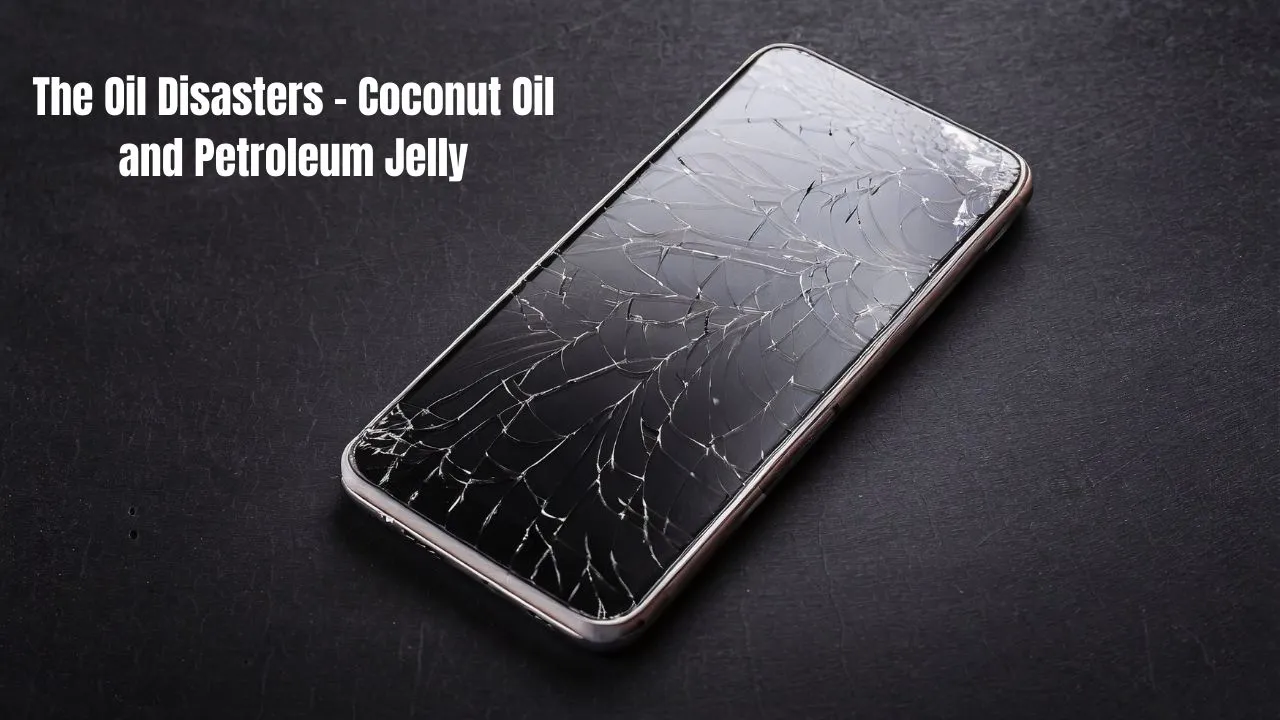
The Oil Disasters – Coconut Oil and Petroleum Jelly
The internet says coconut oil fixes everything. For phone scratches, it’s useless and dangerous.
Petroleum jelly freaked me out during testing. Putting gooey, oily stuff on electronics never makes sense.
Both oils just made test screens slippery and sticky. They attracted dust and dirt. The sticky residue was hard to clean off completely.
Petroleum products or other flammable substance near any electronic device, wire or socket can cause fire. Skip all oil-based “solutions.”.
The Bizarre Food Fixes That Make No Sense
Banana Peel Method
Banana peels are supposed to remove scratches somehow. I tried this method several different ways.
Every attempt left a crusty mess on the screen. The residue was surprisingly hard to remove. It took special cleaning to get screens normal again.
Fruit enzymes don’t repair glass or plastic. Unfortunatly it more than likely started by people joking and people falling for jokes.
The Dangerous DIY Screen Repair Methods to Avoid
Powdered Cleansers – When “Abrasive” Goes Wrong
Using powdered cleaners like Bar Keepers Friend, Comet, and Ajax should buff out scratches. They’re slightly abrasive. You’d think they’d create a shiny screen.
They don’t work. Worse, they can create new scratches on your screen. The abrasive particles are too large and rough.
My test results were bad. Every powdered cleanser I tried left tiny new scratches. Some were worse than the original damage.
These products work great on kitchen sinks. They’re terrible for delicate electronic screens.
Other Risky Methods I’ve Seen Online
People try crazy things when desperate. I’ve seen many things recommended such as sandpaper, steel wool, even acidic chemical solutions.
Never use any of these. They will destroy your screen completely. The cost of repairing this will be much more than scratching it.
Desperation leads to expensive mistakes. Stick to proven safe methods only.
Professional vs. DIY Scratched Screen Repair: The Real Cost Analysis
When DIY Screen Scratch Repair Makes Sense
DIY scratched screen fix makes sense for surface scratches. These are scratches that you cannot feel with the fingernail.
What it’ll Cost: Cost comparison shows supplies for a DIY version cost less than $1. Professional repair costs $150 or more. Time investment is 5 minutes versus a 2-hour shop visit.
Success rates are good for light scratches. Almost 70% of non-circular scratches on the surface can be treated with a magic eraser.
Perfect candidates for DIY repair:
- Light surface scratches
- Older devices (2+ years old)
- Scratches that don’t affect screen function
- Multiple small scratches in one area
When to Skip DIY and Call the Pros
Some scratches need professional help. DIY methods won’t work on deep scratches you can catch your fingernail on.
Cracked screens look like scratches sometimes. But they need complete screen replacement. DIY methods won’t help at all.
Expensive devices ($1000+) deserve professional care. The risk of DIY damage isn’t worth the savings.
Warranty considerations matter too. Some DIY attempts void manufacturer warranties. Check your warranty terms first.
Step-by-Step Guide to Effective DIY Screen Repair
Assessment Phase – Know Your Enemy
Check the light: A bright light should make the scratch visible. Surface scratches reflect light differently than deep ones.
Gently run your fingernail over the scratch. This is too deep of a snag for a DIY repair.
Take photos before starting. This helps you track progress and know when to stop.
The Proven Method Protocol
Before cleaning: Shut down your device. Clean the screen with a microfiber cloth. Remove all dust and oils.
Magic eraser technique:
- Dampen the eraser slightly
- Use circular motions with light pressure
- Work for 60-90 seconds maximum
- Check progress frequently
Try the white rubber eraser if the magic eraser doesn’t work.
Use the left-right, up-down technique described earlier.
After repair cleaning: Use a microfiber cloth to wipe all residue. Apply screen protector if desired.
Safety Precautions for DIY Screen Scratch Repair
Power down completely before starting. Active screens can be damaged more easily.
Protect ports and openings. Cover charging ports, speakers, and microphones. Prevent particles from entering your device.
Control pressure carefully. Light pressure works better than heavy pressure. You can always do multiple gentle treatments.
Know when to stop. Get professional help if the scratches aren’t improving after 2–3 attempts.
Prevention – Better Than Any DIY Screen Repair
Screen Protectors That Actually Work
Better than plastic screen protectors are tempered glass protectors. They resist scratches much better. They also feel more like the original screen.
Make sure the screen is perfectly clean first. Use the included tools. Work in a dust-free area if possible. Bathroom steam can help settle dust.
Good protectors priced at $10-15. They last 6-12 months typically. Much cheaper than screen replacement.
Carrying Habits That Prevent Scratches
Pocket organization prevents most scratches. Keep your phones away from the keys, coins and metal objects.
Case selection matters a lot. Look for cases with raised edges around the screen. This protects the screen when the phone is face-down.
Environmental awareness helps too. Screens that are exposed to areas like beaches and construction sites are prone to damages. Use extra protection in harsh environments.
Conclusion
Some DIY scratched screen repair methods can work, others are a waste of time. Magic erasers and white rubber erasers actually do remove surface scratches.
Skip the kitchen experiments. Don’t use toothpaste or baking soda or coconut oil. They often make problems worse.
Don’t destroy your screen with dangerous methods such as powdered cleansers. Stick to proven safe techniques only.