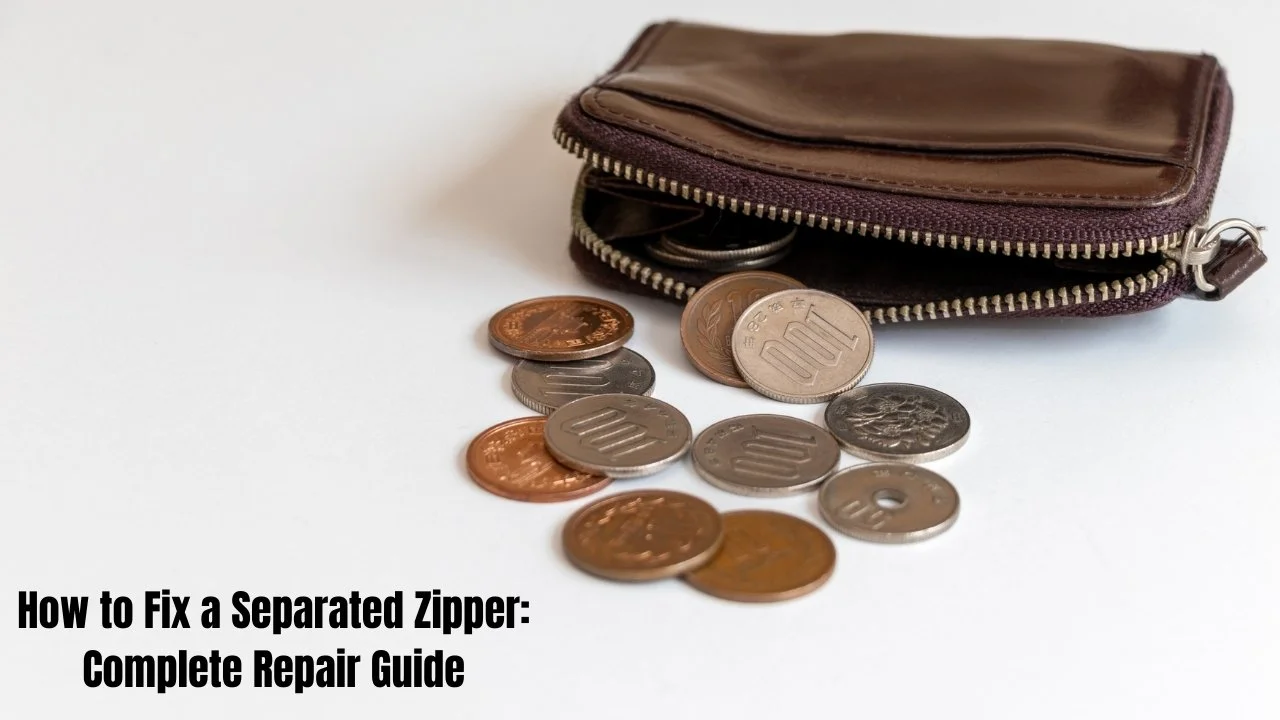
How to Fix a Separated Zipper: Complete Repair Guide
A separated zipper on your jacket, backpack, or bag is frustrating. You pull the slider up, but the teeth won’t close and stay together. Your belongings fall out, or your jacket won’t zip up properly. The good news is you don’t need to replace the item or pay for professional repairs. You can fix a separated zipper yourself in just 5-15 minutes using simple tools you already have at home..If you face any problem related iphone guide then visit this page.
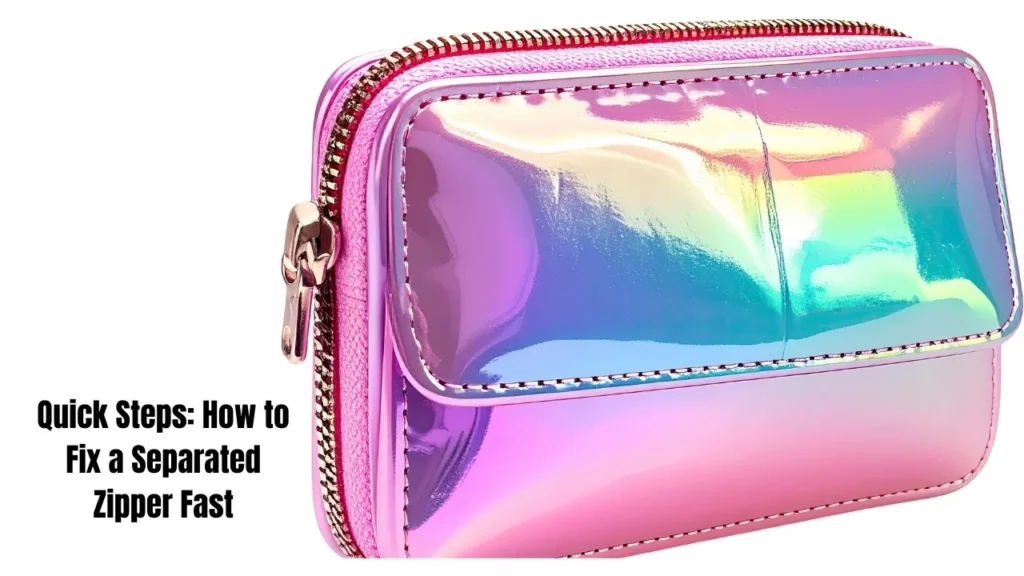
Quick Steps: How to Fix a Separated Zipper Fast
- Inspect the slider for stretching or damage
- Squeeze the slider opening with pliers to reduce its size
- Test the zipper by moving it up and down
- If that doesn’t work, remove the top metal stops with pliers
- Pull the slider off completely
- Realign the zipper teeth by pressing them together
- Reattach the slider and replace the stops
Why Zippers Separate
Before you fix your separated zipper, it helps to understand why it happened. The most common cause is a stretched slider opening. When you use a zipper repeatedly, the slider gradually widens. This puts less pressure on the zipper teeth, allowing them to stay separated instead of locking together.
Other causes include bent zipper teeth, missing stops at the top of the zipper, or fabric caught in the mechanism. Heavy-use items like backpacks, purses, and jackets experience this problem more often.If you have any issue related to Overbite Naturally then dont worry we also provide solution of this issue here on this website.
Tip: Inspect your zipper before starting any repair. Look for bent teeth, tears in the fabric, or visible damage to the slider.
Method 1: Fix a Separated Zipper by Adjusting the Slider
Step 1: Inspect the Zipper Slider
Look closely at both ends of the slider. The slider is the part you pull up and down to open and close the zipper. Compare the opening on each end. If one end looks wider than the other, the slider has stretched and needs adjustment.If you want to read about Treating a Lip Tie than visit this page.
The stretched opening fails to apply enough pressure on the zipper teeth. This is why the teeth separate behind the slider as you pull it up.
Step 2: Check the Zipper Teeth
Examine the entire length of the zipper. Look for bent or misaligned teeth. If the teeth are metal, use small pliers to gently straighten them. If the teeth are plastic, use your fingers to straighten them carefully. Pliers can break plastic teeth.
Fix any tears in the fabric around the zipper. Remove any debris or fabric stuck in the teeth.
Step 3: Squeeze the Slider to Fix the Separated Zipper
Locate the end of the slider without a middle piece of metal separating the two sides. This is the end that has stretched and needs to be squeezed back together.
Use your fingers or a pair of pliers to squeeze the slider on the top and bottom. Apply gentle but firm pressure. You want to reduce the opening inside the slider to its original size.
Tip: Don’t squeeze too hard. If you make the gap too small, the slider will become difficult to move along the tracks. You’ll know it’s too tight if the zipper gets stuck or requires excessive force to pull.
Step 4: Test the Repaired Zipper
Move the slider up and down the zipper several times. If you fixed it properly, the teeth should lock together behind the slider and stay closed.
If the zipper still separates, squeeze the slider a bit more. If it’s still not working after several attempts, move on to Method 2.
Method 2: Fix a Separated Zipper by Realigning the Tracks
Step 1: Check If This Method Will Work
Look at the top of your zipper where it ends. You should see small metal pieces called stops. These stops are slightly larger than the regular teeth and prevent the slider from coming off the end.
If your stops are metal, you can remove and replace them. If the stops are plastic, you cannot use this method without breaking them.
Step 2: Remove the Top Stops
Get a pair of small-tipped pliers or wire cutters with a pointed end. The stops are shaped like a “u” and hook onto the zipper tape.
Gently open the side of the stop that’s hooked onto the tape. Don’t cut it or bend it too much. You need to keep the stops intact because you’ll reinstall them later.
Once the stop opens slightly, wiggle it to unhook it from the tape. Remove both stops from the left and right sides of the zipper.
Put the stops somewhere safe. You’ll need them again.
Tip: Be very gentle with the stops. If you damage them, you’ll need to buy replacement stops from a fabric or craft store.
Step 3: Pull the Slider Off the Zipper
With the top stops removed, slide the slider all the way to the top and pull it off the end of the zipper. Set it aside in a safe place.
Step 4: Realign the Zipper Teeth
Place the zipper on a hard, flat surface like a table or counter. Start at the bottom of the zipper, the opposite end from where you removed the slider.
Push the teeth together, making sure the teeth from the left side alternate with the teeth from the right side. Each tooth should fit into the gap between two teeth on the opposite side.
Work your way up the zipper. Press down firmly on the teeth to pop them into place. The teeth should interlock perfectly.
When you reach the top, check that you don’t have extra teeth on one side. If you do, the teeth aren’t aligned properly. Start over and make sure they alternate correctly.
Tip: Take your time with this step. Proper alignment is critical for the zipper to work correctly.
Step 5: Reattach the Slider
Hold the slider with the end that has no middle piece facing down. This is the bottom of the slider.
Insert one track of aligned teeth into the bottom of the slider. Push several teeth up into the slider until the track won’t go any further.
Then insert the other track the same way. Push teeth up into the slider until both sides are fully inserted.
You’ll know each side is properly inserted when the tracks are secure and won’t pull out easily.
Step 6: Test Before Replacing Stops
Pull the slider down a few inches. Move it up and down to make sure it opens and closes the zipper correctly. The teeth should lock together behind the slider as you pull it down.
Don’t pull the slider all the way back to the top yet. Without the stops in place, it will slide off again.
Step 7: Reinstall the Top Stops
Position each stop in the exact spot where it was originally installed at the top of the zipper. The stops should sit just above the last teeth on each side.
Use your pliers to squeeze the ends of each stop until it grips the zipper tape firmly. Squeeze from both sides to close the “u” shape around the tape.
Wiggle each stop after you reinstall it. Make sure it’s secure and won’t come loose.
Test the complete zipper by moving the slider all the way up and down several times.

Preventing Future Zipper Separation
Once you fix your separated zipper, you want to keep it working. Here are tips to prevent the problem from happening again:
Don’t overstuff bags or backpacks. Excessive pressure on a closed zipper stretches the slider faster.
Pull zippers straight. Pulling at an angle puts stress on the slider and teeth.
Clean zippers regularly. Dirt and debris cause zippers to stick, making you pull harder and wear out the slider faster.
Lubricate zippers occasionally. Rub a graphite pencil, bar of soap, or specialized zipper lubricant along the teeth. This helps the slider move smoothly.
Fix problems early. If you notice a zipper starting to separate occasionally, squeeze the slider right away before it gets worse.
What If the Zipper Still Won’t Fix
If you tried both methods and your separated zipper still won’t stay closed, you have a few options:
Replace the slider. You can buy replacement zipper sliders at fabric stores, craft stores, or online. Match the size and type to your broken slider.
Replace the entire zipper. For items you can’t live without, a tailor or seamstress can install a new zipper. This costs $15-$30 depending on the item.
Use a temporary fix. For emergencies, you can use a safety pin or small binder clip at the bottom of the zipper to hold the teeth together.
Replace the item. If the item is old or inexpensive, it might be more practical to replace it than repair it.
FAQs
Can you fix a separated zipper without tools?
You can try squeezing the slider with your fingers to fix a separated zipper without tools. This works best if the slider has only stretched slightly. For more serious separation, you’ll need pliers to properly adjust the slider or remove the stops.
Why does my zipper keep separating after I fix it?
If your zipper keeps separating, you didn’t squeeze the slider enough or the teeth aren’t properly aligned. Try squeezing the slider more firmly. If you used the realignment method, check that the teeth alternate perfectly with no gaps or misalignment.
How do you fix a separated zipper on a jacket?
Fix a separated zipper on a jacket the same way you fix any separated zipper. Start by squeezing the slider to reduce its opening. If that doesn’t work, remove the top stops, realign the teeth, and reattach everything. Both methods work on jacket zippers.
Can you fix a plastic zipper that separates?
Yes, you can fix a plastic zipper that separates by squeezing the slider. However, if the zipper has plastic stops instead of metal stops, you cannot use the realignment method. Removing plastic stops will break them. Stick with adjusting the slider for plastic zippers.
Conclusion
You now know how to fix a separated zipper using two proven methods. Most zipper problems happen because the slider has stretched, and you can fix this in minutes by squeezing it back to the correct size. For zippers that won’t respond to slider adjustment, realigning the teeth from scratch solves the problem.
These simple repairs save you money and extend the life of your jackets, bags, backpacks, and other items. Before you throw away an item with a broken zipper or pay for professional repair, try these methods. You’ll be surprised how easy it is to fix a separated zipper yourself.