How to Fix Red Eye on iPhone: Quick Guide of 2025
The red-eye is an annoying problem that spoils otherwise perfect pictures. Not only does this spoil the picture, it spoils the great moment of another glowing red eyes. If your iPhone photo — at least in one way — is looking a bit devilish, though, fear not: correcting red-eye on iPhone is quick and simple. If you face any problem related iphone guide then visit this page.
This is a guide that shows you how to remove red eye on iPhone in step by step ways. If you’re new to iPhone photography or a pro, you can discover some rapid methods to de-red-eye shots and get natural-looking eyes back.
What Causes Red Eye in iPhone Photos?
Understanding the Red Eye Effect
Red-eye occurs when your iPhone camera flash bounces off the eye blood vessels. If that is too much to bear, it is because the light reflects in the retina creating that red shine in space photos.
The camera flash is very close to the lens, making the iPhone particularly vulnerable to this red-eye issue. When you are in dark rooms or conditions, your pupils dilate all the way open. Hence the red-eye worse than it is able to be.
The camera flash reflection comes in with the open pupil and strikes the retina rich with blood. The pupils cannot close quickly enough to shut out the flash. This gives you the the dreaded red eyes in your photos.
Red-eye occurs most commonly in children and people with light-colored eyes. However, the good part is, red-eye correction remains true for all.
Why Fixing Red Eye Matters
It gives even pretty pictures a tacky appearance. Those bright red eyes — not the thing people want when sharing pictures on social media.
You want images that are going to look their best for family photos and special occasions. These days, photo retouching isn’t only something that proficient photo editors do. But luckily with iPhone photo correction tools, anyone can remedy these issues in seconds.
Red eye removal — Puts back the natural look of eyes of your photos. Rather than re-shooting images, you can swiftly get photos edited on iPhone. This is time conserving and memories preserving. If you have any issue related to Retouch Photos on iPhone then dont worry we also provide solution of this issue here on this website.
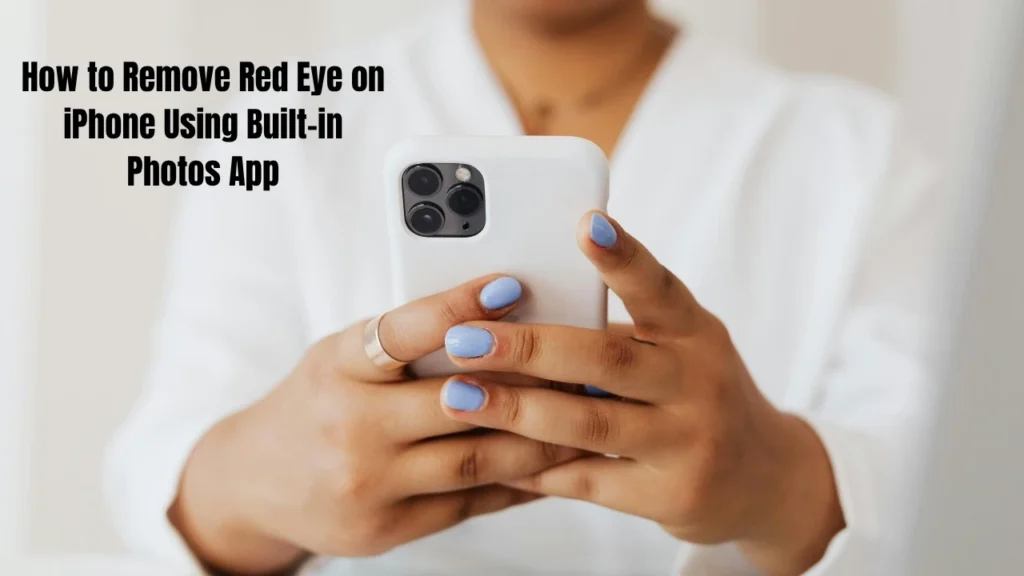
How to Remove Red Eye on iPhone Using Built-in Photos App
What you probably donYt know is that Photos has an ancient pretty powerful red-eye remover that is built right into your iPhone. There are no extra downloads necessary. It should suffice for nearly everyone looking to fix red-eye on a photo for free.
If you only need to correct the red-eye at a time, use the Apple Photos red-eye fix feature. The app works on iOS devices with iOS 13 and higher. If you have a reasonably modern iPhone or iPad, you are good to go.
Step-by-Step Guide to Fix Red Eye on iPhone Photos App
How to remove red-eye using Photos App is incredibly simple. Follow these easy steps:
1. Open your Photos App on your iPhone. Look for the colorful flower icon on your home screen.
2. Find and tap the photo that has the red-eye problem. Browse through your albums until you locate the picture.
3. Tap “Edit” in the top right corner of your screen. This opens edit mode with all your photo correction tools.
4. Look for the red-eye correction icon. It looks like an eye with a diagonal line through it. This is your red-eye removal tool.
5. Tap directly on each red eye in your photo. You need to tap on red-eye area for each eye separately. The tool automatically fixes the red color.
6. Review your changes. Zoom in to make sure the red-eye correction looks natural. Eyes should now show their normal color.
7. Tap “Done” to save changes. Your fixed photo automatically replaces the original.
Tips for Best Results
Tap image to zoom in. It is recommended to zoom in to distinguish image details accurately. To zoom in, you will want to pinch at your screen, opening the eyes. That makes it easier for you to tap on the red-eye area.
For the right red-eye correction, tap on the center of each pupil. The tool operates most effectively when you get directly in the center of the red zone.
Keep your photo clear and in-focus. Manual red-eye correction is hard — any blurry photos are probably too blurry to use. The tools must get the eye to look at the eye clear.
If you still see red, try a few more taps. In some cases, red-eye is so powerful that other than one correction is required.
Limitations of iPhone’s Native Red Eye Removal
The Photos App is well-suited for simple red-eye removal, but it’s not for everything. Blur face red-eye removal often fails great This requires clear and sharp images.
Group photos with squinty eyes is a tough one. The iPhone editor built-in tends to fail around tiny eyes or eyes that are not fully open.
If the red-eye is too bright, severe cases may not be completely corrected. And this is where third-party photo apps for iPhone come in handy. If you can help iPhone Front Camera clik a link of my post.
Top 3 Best Red Eye Remover Apps for iPhone
Fotor – Best Overall Red Eye Removal App
Fotor App is the most comprehensive solution for how to fix red eye on iPhone. This powerful iOS photo editor combines professional tools with easy-to-use design.
Fotor isn’t just a red-eye remover—it’s complete photo editing software. You get 1-click photo enhancement, stylish effects and filters, and professional image correction tools.
How to use Fotor:
- Download Fotor from the App Store
- Open the app and tap “Edit a Photo”
- Select your photo with red-eye problem
- Navigate to the “Beauty” section
- Choose “Red-Eye Removal” tool
- Choose removal size that matches your eyes
- Tap on red-eye area in each eye
- Fine-tune with intensity slider
- Tap checkmark to save changes
- Save and export your fixed picture
Pros: Powerful AI detection, multiple editing tools, regular updates, free version available
Cons: Some features require subscription, slight learning curve
Best For: Users wanting professional results and all-in-one editing
Snapseed – Best Free Option
The Snapseed App replaces your iPhone with professional iOS photo editing and is available for free. Designed by Google, this is a free tool without advertisements, help with watermarks and hidden costs.
This is where the Snapseed red-eye tool shines with a level of precision. You can zoom way in and then just perfect your corrections. You have full control with the precise correction brush.
How to use Snapseed:
- Install Snapseed from App Store (free)
- Open app and import photo
- Tap “Tools” menu
- Select “Red Eye” tool
- Pinch to zoom for precision
- Tap each affected eye
- Adjust correction strength
- Save or share directly
Pros: Completely free, professional-grade tools, no ads, developed by Google
Cons: Interface can overwhelm beginners, no cloud storage
Best For: Budget-conscious users wanting professional features
Adobe Photoshop Express – Best for Advanced Editing
Adobe Photoshop Express App brings legendary Photoshop quality to your iPhone. This mobile version delivers professional red-eye removal backed by decades of expertise.
The app uses intelligent red-eye detection that finds problem areas automatically. It also integrates with Adobe Creative Cloud for seamless workflow.
How to use Photoshop Express:
- Download Adobe Photoshop Express
- Sign in with Adobe account (free)
- Import red-eye photo
- Select “Corrections” menu
- Choose “Red Eye” tool
- Tool automatically detects eyes
- Manually adjust if needed
- Apply and save changes
Pros: Industry-standard quality, automatic detection, cloud sync, professional results
Cons: Requires Adobe account, premium features need subscription
Best For: Adobe users and those wanting professional-grade results
Advanced Tips to Fix Red Eye on iPhone
Prevention Tips
You can prevent red-eye with a bit of foresight. Use natural lighting when possible. Tip: Use True Tone flash on iPhone for better results.
It is great to have your subjects looking slightly away from the camera. This minimizes direct reflection of camera flash in their eye. Ensure that the ambient lighting in the room is increased before clicking pictures.
Shoot in burst mode and pick your best. Some pictures will have a red-eye effect; some do not. Shoot a bunch of them to have options.
When to Use Which Method
If you need a basic photo as quick as possible, with as little red-eye as possible, use the Photos App. It’s the fastest solution for quick repairs.
A take away word for those who go for professional outcomes, and numerous photos do opt for fotor. Fotor red-eye remover works great for those difficult cases.
Go for Snapseed if you need some advanced control for free. It provides free professional photo retouching.
If you already live in Adobe land, use Photoshop Express. This is also hugely convenient because of the cloud sync.
FAQs
Can you fix red eye on iPhone after taking the photo?
Yes, absolutely. You can fix red-eye in iPhone photos anytime after taking them. The Photos App and red-eye removal apps work on existing photos in your camera roll.
Does iPhone have automatic red eye removal?
The Photos App has a red-eye correction feature that’s semi-automatic. You tap the tool, then tap each eye. Some third-party photo apps for iPhone like Photoshop Express offer fully automatic red-eye detection.
What’s the best free way to fix red eye on iPhone?
The built-in Photos App is the best free option for simple fixes. For advanced free editing, Snapseed offers professional-quality red-eye removal with more control.
Does fixing red eye reduce photo quality?
No. Red-eye correction uses targeted editing that only affects the eye area. The rest of your photo stays at full quality. Modern iPhone photo enhancement tools preserve original resolution.
Conclusion
Get Red-Eye Off on iPhone — No More Effort in 2025 Depending on what you need, you may have a few good choices.
Edit photos in Photos App (For minor Edits) It is free, faster, and good for all the basic red-eye problems.
For better options: Fotor or Adobe Photoshop Express With the help of these apps, you can correct the image in a better way and also get a better control.
For advanced editing that costs nothing: Snapseed You received professional photo retouching for free.
For fine detail: Any of these apps are fine, but Snapseed and Fotor give you the most manual control.
The Photos App: Great starting point for your first efforts. Download one of the suggested apps that can remove red-eye if you want more power. Edit LessON: Warm up on old photos before editing important pics.
Make sure to use the prevention tips to keep the future pictures safe. A good light and proper technique minimise red-eye from ever occurring.
So there you have it: a comprehensive guide to fixing red eye on iPhone (or iPad, anyway) with several methods. Your images will nearly always appear more high-quality. Clean red eyes ruining perfectly great shots. So go ahead and get those photos fixed now, with gorgeous, natural({{)) results.