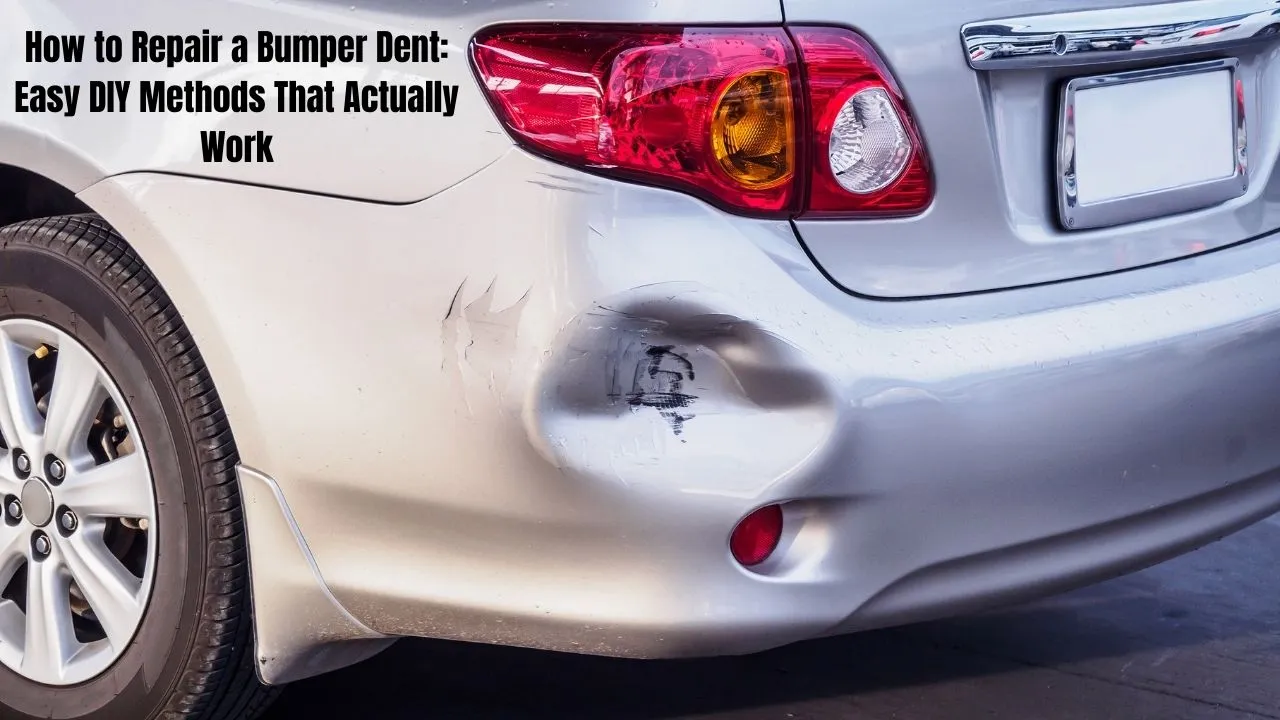
How to Repair a Bumper Dent: Easy DIY Methods That Actually Work
You just spotted a dent on your car bumper. Your heart sinks a little. You’re already thinking about the repair bill, right? If you face any problem related iphone guide then visit this page.
Here’s the good news. Most bumper dents can be fixed at home using items you already own. No expensive tools needed. No mechanic visit required. Americans spend thousands on auto dent repair every year, but you don’t have to be one of them.
This guide shows you exactly how to fix a bumper dent yourself using simple, proven methods. We’ll keep it straightforward and easy to follow.
Understanding Your Bumper Before You Start
What Type of Bumper Do You Have?
Before you attempt any DIY bumper repair, you need to know what you’re working with.
Most modern cars have plastic bumpers. These are perfect for home dent removal because plastic can be reshaped with heat. About 95% of vehicles made after 2000 use plastic bumpers. If you have any issue related to Paint Repair Cost then dont worry we also provide solution of this issue here on this website.
Older cars and trucks often have metal bumpers. These need different repair techniques. Metal doesn’t reshape like plastic, but it responds well to temperature changes.
“Knowing your bumper material is half the battle. The right method on the wrong material won’t work.”
Can You Actually Fix It Yourself?
Not every dent is a DIY project. Here’s how to tell if yours qualifies.
You can fix it yourself if:
- The dent is smaller than a softball
- There are no cracks in the bumper
- You can reach behind the dent
- The paint isn’t badly damaged
- The dent is fairly shallow
You need professional help if:
- The bumper is cracked or torn
- There’s deep scratches down to bare metal
- Sensors or cameras are in the damaged area
- The dent is extremely deep
A professional mechanic typically charges $150 to $500 for bumper damage repair. Compare that to spending $0 to $20 on DIY methods. The savings are real.

Method 1: The Plunger Technique
How to Remove Bumper Dents with a Plunger
The plunger dent removal method is the easiest place to start. You probably have a plunger in your bathroom right now..If you want to read about Leather Car Seats than visit this page.
Here’s what you do:
Step 1: Clean the dented area completely. Remove any dirt or debris.
Step 2: Wet both the dent and the plunger cup with water. This creates a better seal.
Step 3: Place the plunger directly over the center of the dent. Press it firmly against the surface.
Step 4: Pull straight back with steady force. Don’t jerk it. Use smooth, consistent pressure.
Step 5: You should hear a pop when the suction breaks. Check if the dent popped out.
Step 6: If it didn’t work, repeat the process. Sometimes it takes 5 to 10 tries.
This works best on small dents that are round and smooth. The suction dent repair method uses pressure difference to pop-out dent back to its original shape.
Success rate? About 60-70% on suitable dents. It won’t work on every dent, but it’s worth trying first because it’s so simple.
Method 2: Boiling Water for Plastic Bumpers
The Hot Water Dent Repair Process
If you have a plastic bumper, this method is incredibly effective. It’s one of the most popular easy bumper dent repair techniques.
Here’s the complete process:
Step 1: Boil a large pot of water. You’ll need at least half a gallon.
Step 2: Make sure you can reach behind the bumper. You might need to access it from the wheel well.
Step 3: Put on your protective gloves. This is crucial for heat protection.
Step 4: Carefully pour the boiling water directly over the dent. The plastic will become soft and flexible.
Step 5: Immediately reach behind the bumper and push the dent outward. The heated plastic will move easily.
Step 6: Once the dent is out, pour cold water over the area. This cools and sets the plastic in its new shape.
The science is simple. Heat makes plastic flexible. You reshape it while it’s soft. Cold water locks it in place.
Important safety notes:
- Always wear gloves to prevent burns
- Work quickly while the plastic is hot
- Be gentle—don’t push too hard
- Have your cold water ready before you start
This method works on minor dents and even some deep dents in plastic. It’s particularly good for vehicle body damage from backing into poles or parking barriers.
Method 3: Hair Dryer Method
Heat-Based Bumper Dent Repair
Your hairdryer can be a powerful DIY car dent repair tool. This method gives you more control than boiling water.
Step-by-step instructions:
Step 1: Plug in your hair dryer and set it to the highest heat setting.
Step 2: Hold the dryer about 6 inches from the dent. Any closer risks damaging the paint.
Step 3: Heat the area for 3 to 5 minutes. Move the dryer in circular motions to distribute heat evenly.
Step 4: Put on heat-resistant gloves immediately.
Step 5: Reach behind the bumper and push the dent outward while the plastic is warm.
Step 6: If you can’t reach behind, try the plunger on the heated surface.
Step 7: Let it cool naturally or use cold water to set it faster.
This heat and cold dent repair approach works well indoors. You don’t need to haul boiling water outside. The controlled heat makes it safer for your paint job.
Best for plastic dent repair on accessible areas. The success rate is similar to the boiling water method, around 70-80% on suitable dents.
Method 4: Advanced Temperature Shock Method
Using Hair Dryer, Aluminum Foil, and Ice
This technique works particularly well on metal bumpers and stubborn plastic bumper dents.
What you’ll need:
- Hair dryer or heat gun
- Tinfoil (aluminum foil)
- Ice cubes or ice pack
- Gloves
The process:
Step 1: Cut a piece of tin foil larger than the dented area.
Step 2: Heat the dent with your hair dryer for 3 to 5 minutes. Keep it about 6 inches away.
Step 3: Immediately place the foil over the heated area.
Step 4: Rub ice cubes over the foil. The rapid temperature change creates expansion and contraction.
Step 5: Wait a few minutes. The dent should pop out on its own.
Step 6: If it doesn’t work the first time, repeat the process. This thermal contraction technique sometimes needs 2 or 3 attempts.
The science behind this heat expansion method is fascinating. Metal and plastic expand when heated. When you rapidly cool them, they contract. This push-and-pull effect can pop dent from inside without touching it.
Patience is key here. Don’t expect instant results. Give it time to work.
Method 5: DIY Suction Device
Creating a Homemade Dent Puller
When you can’t reach behind the bumper, this suction device method saves the day.
Materials needed:
- Bucket or pot with a hole in the bottom
- Vacuum cleaner
- Strong tape (duct tape works great)
How to do it:
Step 1: If your bucket doesn’t have a hole, drill one in the center of the bottom.
Step 2: Position the bucket over the dent. The hole should face outward.
Step 3: Use tape to seal the edges of the bucket against the car body panel. Make it airtight.
Step 4: Attach your vacuum cleaner hose to the hole.
Step 5: Turn on the vacuum to full power. The suction will pull dent outward.
Step 6: Keep the vacuum running for 30 seconds to a minute.
Step 7: Turn off the vacuum and carefully remove the bucket.
This pull dent outward technique works through powerful negative pressure. The vacuum creates much stronger suction than a plunger can.
Best for car bumper dents that are hard to access. Also great for larger dents that a plunger can’t cover.

Common Mistakes to Avoid
Don’t Make These Bumper Repair Errors
Even simple DIY bumper repair can go wrong. Here’s what to avoid.
Mistake 1: Using too much heat. Overheating can warp your plastic bumper or damage the painted surface. If the plastic starts to smell or change color, you’ve gone too far.
Mistake 2: Skipping the gloves. Burns are no joke. Always wear protective gloves when working with heat or boiling water.
Mistake 3: Rushing the process. Heat and cold dent repair takes time. Patience gets results. Forcing things creates more battle scars.
Mistake 4: Using the wrong method for your material. Metal dent repair needs different approaches than plastic dent repair. Match your method to your bumper type.
Mistake 5: Ignoring cracks. If you see any cracks, stop. DIY methods won’t fix cracks and might make them worse.
“The biggest mistake is not knowing when to stop. If a method isn’t working after 3 attempts, try something else or call a professional.”
When to Call a Professional
Signs You Need Expert Help
Sometimes professional dent repair is the right choice.
Call a professional if:
- Your bumper has cracks or tears
- The paint is severely damaged with deep scratches
- Modern sensors or cameras are affected
- You’ve tried DIY methods without success
- The dent is extremely deep or has sharp creases
- You’re not confident in your abilities
A trusted auto shop has specialized tools and experience. They can handle complex vehicle body damage that’s beyond DIY scope.
Average costs in the USA:
- Simple bumper dent repair: $150-$300
- Bumper replacement: $500-$1,500
- Paintless dent removal: $75-$150 per dent
Insurance might cover the repair depending on your deductible and coverage. Check with your provider before paying out of pocket.
Final Thoughts
Bumper dent repair doesn’t have to be expensive or complicated. With simple household items and a bit of patience, you can handle most minor dents yourself.
Start with the easiest method first. Try the plunger on small dents. Move to heat-based methods for stubborn ones. Remember that DIY car dent repair saves you money and gives you valuable skills for vehicle upkeep.
The key to success? Know your limits. Understand when a dent is beyond DIY and needs a professional mechanic. There’s no shame in getting expert help for complex surface damage.
![How to Fix iPhone Screen Not Responding [iOS 17 Update] - 8 Proven Methods That Work](https://howtofixhelp.com/wp-content/uploads/2025/08/How-to-Fix-iPhone-Screen-Not-Responding-iOS-17-Update-8-Proven-Methods-That-Work-1-768x432.webp)