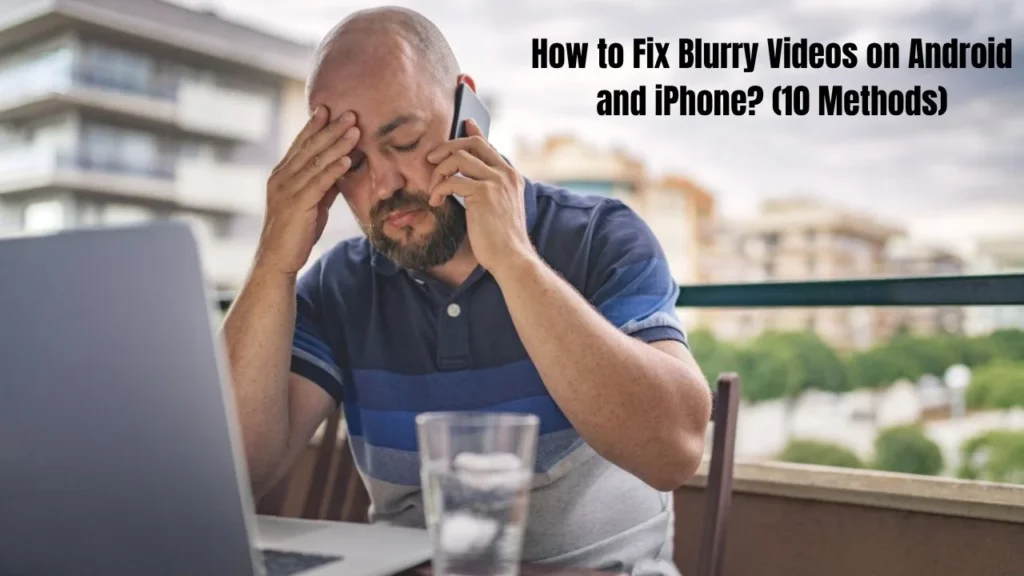
How to Fix Blurry Videos on Android and iPhone? (10 Methods)
Have you ever taken videos of your birthday party or on vacation, only for it to be out of focus and useless? Blurry videos ruin memories and make sharing impossible. It is certainly annoying when you do not know why your clip looks horrible even though you recorded it perfectly.
Why are videos blurry on iPhone? How to make a video clearer on Android? Why don’t Android videos look good when you share with your friends? If you have any issue related to to iphone guide then visit this page.
Don’t worry anymore. In this guide, you’ll learn how to fix blurry videos on Android and iPhone with 10 tried-and-true methods. No matter if you’re struggling with sent videos, downloaded ones, or recordings that won’t clear up, the following solutions will help to restore video clarity and help you share memories hassle-free.
Understanding Why Videos Get Blurry on iPhone and Android
Before coming to the solutions, you should know the causes of the problem. Knowing the “why” helps you pick the right fix. f you have any issue related to iPhone Not Showing Up then dont worry we also provide solution of this issue here on this website.
Common Causes of Blurry Videos
Video resolution problems happen for several reasons. Low-resolution recording settings are a major culprit. If you shoot a video in lower quality, then your iPhone device or Android phone is zooming in. This creates pixelated, fuzzy footage.
Poor lighting conditions force your camera to work harder. In the dark, a camera increases its ISO to help it see more light. Due to this automatic adjustment of settings, iphone and android still shots get blurred and grainy in videos.
Without stabilization, high speed video creates motion blur. If you jerk the camera while recording, the frames can’t keep up. When filming or photographing, moving the hand causes shake and blur. If you do not hold your device still, your footage will shake.
Dirty camera lens blocks light and creates hazy videos. The footage of your camera will suffer if there are fingerprint smudges on it. This simple problem causes many blurry recordings.
Why Are iPhone Videos Blurry on Android?
This question comes up constantly. Pixel density differences cause major problems. Most iPhone devices record at 1080p resolution by default. Most Android phones play videos in 720p or 480p quality. This mismatch creates video compression issues.
MMS compression destroys video quality. The size of the file gets reduced when you send videos by Text Messaging. The video you send over becomes blurry and unwatchable for us at the receiving end.
Cloud video download problems create blurry results. When sharing from iCloud, Google Drive or Dropbox, you need to choose the right quality settings. A lot of people download the zipped version and not the original file.
Universal Methods to Fix Blurry Videos
These methods work for both iPhone and Android users. They are ideal for situations when you have already received a blurry video or downloaded an unusable file.
Method One: Fix Blurry Videos Online with Video Repair Tools
Online video repair services offer the fastest solution. Conveniently use these tools online without any software installation.
Repairit Online Video Repair fixes damaged videos and gets great results. The service deals with video file that is corrupted, missing codec issues, and quality issues.
The platform supports videos up to 3GB in size. This gives you plenty of repair capacity for personal use. Using advanced algorithms, video file repair is quickly done.
You can use any of these 10 formats for your video: MOV, MP4, M2TS, MKV, MTS, 3GP, AVI, FLV, MXF and M4V.
How to repair damaged video online.
Step 1: Upload your blurry videos to the online service.
Step 2: The system starts the advanced video repair process automatically.
Step 3: Preview your repaired video and download the fixed file.
The entire process takes just minutes. You don’t need technical knowledge.
Method Two: Use Professional Video Repair Software
Desktop software gives you more power when online services can’t handle your problem. With Repair it desktop version damaged videos can be repaired completely.
Wondershare Repairit for desktop offers premium features. The software repairs videos with all corruption levels. Repairs the header corruption, stop video flicker, fix audio sync and severe video playback.
Video resolution support goes beyond basic HD. The program fixes video files of 8K, 4K and Full HD. It works with 20+ formats.
There’s no limit on file size or number. You can repair blurry video files as large as you need. The software works on both Windows and macOS systems.
Step 1: Add your corrupted videos by clicking the “Add” button.
Step 2: Click “Repair” to start the automatic fixing process.
Step 3: Preview the results and save files to your computer.
Method Three: Avoid Video Compression Issues
Video compression often causes quality loss. The best fix is preventing compression in the first place.
Cloud storage services maintain original quality. Google Drive, Dropbox, and iCloud allow you to upload non-compressed large video files. Share a link directly instead of sending through messaging apps.
Platforms such as WeTransfer and Send Anywhere are commonly known as file transfer apps. These apps skip compression entirely. Your recipient gets the exact same quality you recorded.
We can make perfect transfers using USB memories and micro SD cards. There’s zero quality loss when you copy files directly.
Exclusive Methods to Fix Blurry Videos on iPhone
Tools are built right into every iPhone for iPhone users. These methods use native iOS features and popular apps.
Method Four: Remove Blur Using VN Video Editor App
VN Video Editor is a powerful free tool for iPhone. The app offers professional video enhancement features in an easy interface.
Step 1: Download VN Video Editor from the App Store. Open it and tap the plus icon.
Step 2: Create a new project and import your blurry video from iCloud Photos.
Step 3: Tap the “Filter” option and select “Adjust.” Scroll right to find the sharpen menu.
Step 4: Increase sharpness adjustment to 30. Set noise reduction to 100 for maximum clarity.
Step 5: Tap the checkmark to apply changes. Save your clear blurry videos to your camera roll.
iPhone users get exclusive tools built right into their phones. These methods use native iOS features and popular apps.
How to Fix It When Your iPhone GPS Isn’t Working
Method Five: Use iPhone’s Built-in Photos App
The iOS Photos app includes editing tools for fixing videos. You don’t need to install anything extra. It’s completely free.
Step 1: Open Photos app and select your blurry video.
Step 2: Tap “Edit” and go to the “Adjustment” section in the editing panel.
Step 3: Find noise reduction and increase it toward 100. The exact level depends on how blurry your footage is.
Step 4: Adjust sharpness between 20 and 30 for best results.
Step 5: Tap “Done” to save the improved video.
This native solution provides quick fixes without leaving your photo library. The results improve video clarity significantly for most common problems.
Method Six: Download Original Quality Videos from iCloud
iCloud saves the original recordings in full quality. If video appears low quality, check if Photos is showing a compressed video rather than original.
The cloud video download stores full resolution versions separately. At times, your iPhone doesn’t preview at the best quality.
Check your iCloud settings first. Go to Settings > Photos > Download and Keep Originals. Enable this option to access full-quality files.
When you view a video, give it time to download. The high-resolution version loads gradually. A progress indicator shows when the full file is ready.
This process will only work if iCloud was enabled beforehand. The original must exist in cloud storage.
Method Seven: Use Email to Transfer Videos
Email preserves better quality than text messaging. MMS compression destroys video quality, but email protects against larger files.
Open Mail app and compose a new message. Attach your video file. When you press print select actual size, don’t select smaller options.
The recipient downloads the video through their email. The quality is much closer to your original audio than MMS texting would be.
Email has file size limits around 25MB on most services. For larger videos, this method won’t work. Use cloud storage instead for bigger files.
Exclusive Methods to Fix Blurry Videos on Android
Android phone users have different tools available. These methods target Android-specific apps and settings.
Method Eight: Use Android Video Editing Apps
Video enhancement applications for Android have powerful repair tools. Two apps stand out for fixing blurry footage.
InShot app provides an elegant interface for beginners. With the help of the tool, you can easily adjust the brightness, contrast, saturation, and sharpness.
Download InShot from Google Play Store. Import your blurry video into the app. Navigate to adjustment settings. Make a sharpness adjustment and use noise filters. Preview your changes before exporting.
Adobe Premiere Rush has mobile-ready professional functions. This app allows you to fix the quality of the video with many controls.
Import your video into Adobe Premiere Rush. Access the enhancement panel. Modify your video sharpness, color balance, and clarity settings. This app has auto-enhancing features which can help to analyze and fix the video quality.
Both apps are easy to use. You’ll do something similar here. Download the app. Import your video. Configure your settings. Preview the results. Export your improved video file.
Method Nine: Adjust Video Playback Settings on Android
Sometimes your video isn’t actually blurry. Your display settings on your Android phone may be affecting video playback.
Step 1: Open Settings on your Android device.
Step 2: Scroll to “Display” settings.
Step 3: Find “Screen Resolution” or “Advanced” options.
Step 4: Select the highest resolution available for your screen.
This fixes display-related blur. Your videos will look sharper immediately. Also check individual video player apps. Many have quality settings that default to low values.
Method Ten: Troubleshoot Android Device Issues
Device problems sometimes cause blurry playback. Simple troubleshooting fixes many issues.
Restart your device first. This clears temporary glitches that affect video playback. Power off completely, wait 30 seconds, then power on again.
Clear cache and storage from your video apps. Go into Settings > Apps > Your Video App > Storage > Clear Cache. This helps in removing corrupt temp files causing playback issue.
Update software regularly. Incompatible codecs and compatibility issues cause old Android systems. To check for updates to your system, go to settings, system, and software update.
Free up storage space if your device is nearly full. In order for an Android phone to run videos more easily it needs to have at least 1GB free storage. Delete unused apps and old files.
How to Prevent Blurry Videos
Prevention beats repair every time. Follow these tips to record in high quality from the start.
Record in High Quality Settings
Always change your camera to 1080p or 4K before recording. Go to settings of your camera app and choose highest quality. Media settings, such as HD and Full HD, produce clearer footage.
Choose 30fps or 60fps frame rates. Smoother motion capture with fluidity and reduced blurry effects during movement.
Clean Your Camera Lens Regularly
A dirty camera lens ruins every video you shoot. Wipe your lens before important recordings. You can use a microfiber cloth to wipe fingerprints. Never use rough materials that scratch the glass.
Use Proper Lighting
Low-light video recording always creates grainy, blurry results. Shoot in bright environments whenever possible. Natural outdoor lighting works best. For indoor shots, turn on all available lights.
Avoid recording in complete darkness. Your camera’s ISO settings will spike, creating terrible quality.
Stabilize Your Phone While Recording
Hold your device with both hands. Keep your elbows against your body for stability. Avoid walking while recording whenever possible.
Consider buying a small tripod or gimbal stabilizer. These tools eliminate shake completely. Even a $20 tripod produces dramatically better results.
Avoid MMS for Video Sharing
Never send important videos through text messaging. MMS compression destroys quality every single time. Use cloud storage services instead.
Upload to Google Drive, Dropbox, or iCloud. Share the link through any messaging app. The full quality is downloaded from the cloud by recipient.
Transferring files through WeTransfer is a piece of cake. You can receive these services without any accounts and they will always maintain the highest quality.
Which Method Should You Use?
Choose your method based on your situation. For transferred videos that are already blurry use Method Number One or Method Number Two. The video repair tools fix damage due by corruption and compression.
Methods four to seven, iPhone users can try first. The VN Video Editor and native iOS Photos app solve most usual problems.
Android phone users benefit from Methods Eight through Ten. The InShot app and Adobe Premiere Rush enhance your video quality better.
For any recordings in the future, follow all the prevention tips mentioned in the last section. Quality recorders in the studio prevent most problems from happening.
Final Thoughts
IPhone and Android blurry videos won’t ruin your memories anymore. These 10 strategies provide full solutions for any circumstance. Whether you need to fix blurry video files, unblur a video recording or prevent this from happening again, you now have the right tools and knowledge to do so.
Start with the easiest solution for your device. Try online repairs first for transferred videos. Use native apps when possible. Use professional software when simple fixes don’t work.
Remember that prevention saves time. Make sure the camera lens is clean and no light is low. The settings on high-quality also help to eliminate most of the blurs before they happen. Post to cloud storage instead of chats to keep perfect quality.
Your clear, beautiful videos are just a few steps away. Choose a method and fix your blurry videos today.