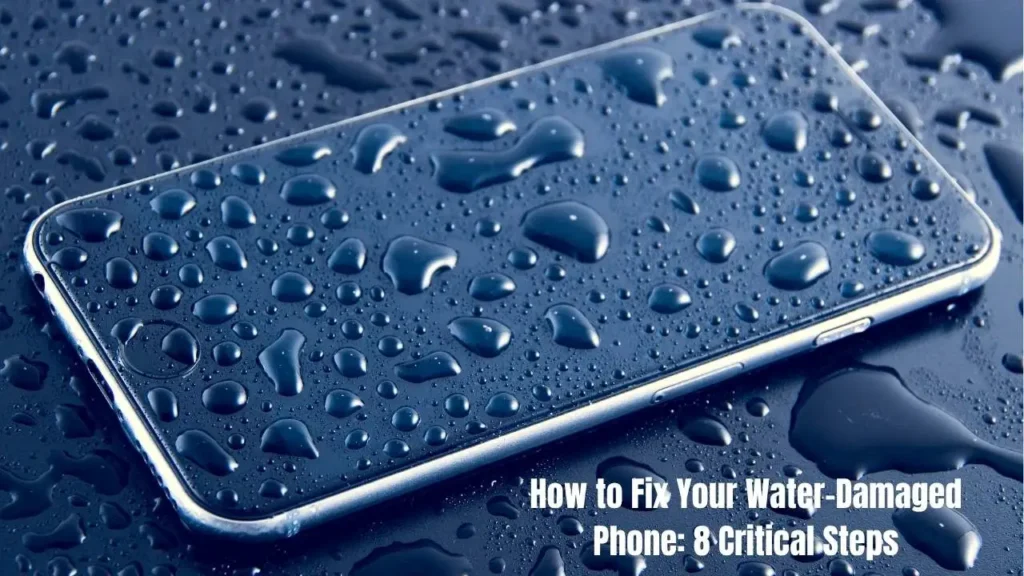
How to Fix Your Water-Damaged Phone in 8 Steps
⚡ Quick Fix Summary
- Power off immediately—electricity and water are a dangerous combo
- Remove case, SIM card, and all accessories for proper air circulation
- Use silica gel packets instead of rice for effective drying
- Allow 24-48 hours minimum drying time
- Still not working? Seek professional phone repair service
We’ve probably all been here. You dropped your iPhone in the pool while texting. It fell into the sink while you were doing dishes. Water damage is one of the most common phone-related accidents in America. If you have any issue related to to iphone guide then visit this page.
The good news? You can save it in many cases. This guide covers a complete walkthrough on how to fix a water damaged phone using 8 simple steps.
How to Fix Your Water-Damaged Phone: 8 Critical Steps
Step 1: Remove Your Phone from Water Immediately
Do not lose even one second. Remove a wet phone from the water right now. You do not need to finish the current conversation or save your game.
Phones are filled with tiny gaps, slots and even holes. These include speaker grilles, buttons, the SIM card slot, and charging or headphone ports. Water will get inside, filling every gap between the device and the liquid. It doesn’t matter if your phone is water-resistant; it can only withstand brief splash exposure, but never more than 30 minutes.
Step 2: Power Off Your Phone Right Away
Completely turn your phone off. Not just lock the screen.
Why is it important? Electricity and active water are always a disaster. As long as the phone is on, there are numerous paths inside for the electric current and water creates new ones. This causes components to short circuit and burn out.
For iPhones: for iPhone 8 and later, press the volume up and hold, do the same with the volume down, then hold the side button. For iPhone 7, press the volume down plus the side button.
For Androids: hold the power button until it shuts down, about 10-20 seconds.
Most importantly, do not turn the phone back on afterward to check if it works. Leave it off for at least 24-48 hours. If you have any issue related to Photo on iPhone then dont worry we also provide solution of this issue here on this website.
Step 3: Remove All Accessories and Cases
Take off your waterproof phone case completely. Cases trap moisture and prevent air circulation.
Also remove:
- Pop sockets and grips
- Screen protectors (if loose)
- Charging cables or headphones
- Decorative stickers
Your phone submerged in water needs maximum air exposure for proper drying.
Step 4: Remove SIM Card and SD Card
Open the slot, if you can. More air is better for your phone’s innards as it dies. Locate the SIM card slot – a small hole on the side of your phone. Get a sim ejection tool or a straightened-out paperclip. Insert it into the tiny hole and gently push. The SIM card tray will ease out. Collect your SIM card and gently pat it dry with a soft cloth. Avoid applying too much pressure though. Soak and dry your microSD card, if you also have it, and your phone battery.
Perform a battery removal step if you have an older phone with a battery. Newer devices come with sealed batteries that you should not try to remove.
Step 5: Dry Your Phone Properly
Grab a soft, lint-free cloth. Paper towel drying works if that’s all you have.
Pat your phone gently. Don’t rub. Rubbing pushes water deeper into openings.
Focus on:
- Charging port and headphone jack
- Speaker grilles
- Button crevices
- Camera lenses
What NOT to do: Don’t shake your phone. Don’t blow into it. Your breath contains moisture and pushes water deeper. Horizontal Lines on iPhone Screen: Causes and Fixes
Step 6: Avoid Heat Sources
Heat damages electronics permanently.
Don’t use a hair dryer. Blow dryer damage is real. Heat warps plastic, melts adhesives, and can crack your screen.
Also avoid:
- Direct sunlight
- Heating vents
- Car dashboards
- Ovens (yes, people try this)
Keep your phone in a cool, dry place at room temperature. Natural evaporation behind the screen works best.
Step 7: Use Silica Gel Packets (Not Rice)
Don’t put your phone in rice. The rice myth needs to die.
Rice creates dust and starch residue that clogs ports. Rice grains can get stuck in your charging port and swell when wet.
Use silica gel packets instead. These come with new shoes and electronics. Silica gel is dramatically more effective than rice.
Find a plastic zip-top bag. Fill it with silica gel packets. Bury your phone completely. Seal the bag.
Wait minimum 24 hours. Better yet, wait 48 hours. Patience saves phones.
Step 8: Test Your Phone Carefully
After the full drying period, try powering on your phone.
If it doesn’t turn on immediately, plug it in to charge fully. Then try again.
Check for signs of success:
- Screen displays normally
- Touch responds properly
- Speakers work
- Camera isn’t foggy
- Charging works
Monitor your phone for the next week. Sometimes dried water markings or corrosion marks appear later.
When to Seek Professional Help
If your phone still doesn’t work, visit a phone repair service. Professional technicians offer free diagnostic repair checks.
They can:
- Open sealed phones safely
- Clean corrosion marks from circuits
- Replace damaged components
- Test the Liquid Damage Indicator (LDI)
The LDI is located in the headphone jack, battery area, or SIM tray. If it’s red or pink, water damage occurred.

Does Rice Fix Water-Damaged Phones?
No. Rice may absorb some moisture, but it causes more problems. Rice alternative methods like silica packet drying work much better for device troubleshooting.
Preventing Future Water Damage
Invest in smartphone protection:
- Use a waterproof pouch at the beach or pool
- Keep phones away from sinks and toilets
- Know your phone’s water resistance limits
- Use protective cases
Remember, even water-resistant devices aren’t fully waterproof. Protection degrades over time.
Final Thoughts
Regardless of the severity of water exposure, whether you spilled your coffee on your phone or lost it at the bottom of the pool, your best chances against liquid damage are in quick action.
Therefore, do the following 8 steps immediately after water infiltrating your mobile device.
Note that drying with silica gel is more efficient than the traditional uncooked rice.
Feel free to take your time with each drying step, though! The most important things is turning off your device, and it must happen immediately. If you power off your phone as soon as possible, you are likely to see no permanent damage.
That simple. Moreover, smartphone insurance is more likely to cover liquid damage, unlike the manufacturers’ warranties. So don’t let panic overwhelm you and your device has good odds to survive.


![[Solved] Best Ways of Fixing Grindr Not Working 2025](https://howtofixhelp.com/wp-content/uploads/2025/09/Best-Ways-of-Fixing-Grindr-Not-Working-2025-768x432.webp)